Contact View
To view the information about a contact, you should press with the left button of your mouse on the contact's name in the list. By default, the previously visited tab will open.
The "#" sign and a unique identifier are displayed to the right of the name of a contact located in the upper part of each tab listed below. It is a permanent link to contact. This link can be copied via the context menu and inserted to your messages.
Using the  button you can prepare for printing the information about contact. Once you press it, the information will be opened in the preview mode. Further you can print it using the standard function of browser.
Overview
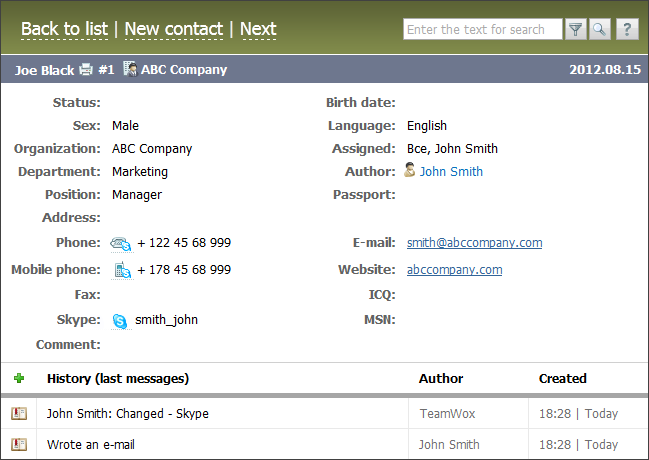
This tab contains the cumulative information about the contact. The contact name and the date of its adding to TeamWox (to the right) are displayed at the top of the tab. Other information is listed below. The bottom part contains the contact's history (comments). To view a comment, you should click with your mouse on its subject. The author of the comment and its publishing date are shown in the corresponding columns. If there are any messages from contact the corresponding information is shown in this tab as well.

If you press on the company name located to the right of the contact's name:  , you will be passed to the viewing the organization in the corresponding module.
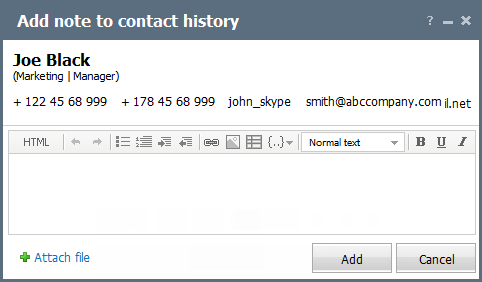
There is also a possibility to add records to the history of a contact at this tab. To do it you should press the ![]() button located in the heading of the corresponding box. Once you press it the window of adding note to contact history will appear:
button located in the heading of the corresponding box. Once you press it the window of adding note to contact history will appear:

In this window it is enough to type the necessary text in the message editor and to press the "Add" button or "Ctrl+Enter" key combination.
Edit
This tab is intended for editing the information about a contact. However, the user must have the sufficient access rights to do it. The access rights can be granted by the administrator of your TeamWox system. This tab contains the same fields as described in the Add/Edit Contact section. You can edit any field, if you wish. To save the changes, you should press the "Update" button. To cancel the information editing without saving, you should press "Cancel". You will be passed to the previously visited tab as soon as you press "Cancel".
History
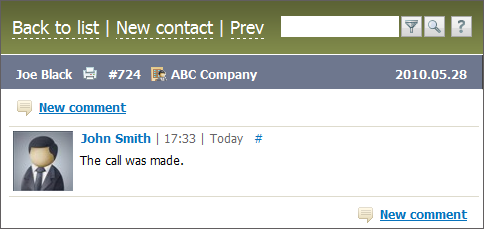
The information about the contact relationship history is displayed here. This history is compiled from comments made by employees of your company that work or used to work with this contact. You can add your own comment here, as well. To do that, you should press the "New comment" button located in two places of the tab: on the right side above the list of comments and below the list of comments. The window of the message editor will open, as soon as you press the button. Once the text of the comment has been created, you should press the "Add" button. If you want to cancel the comment writing without saving, you should press the "Cancel" button. The # sign is displayed to the right of the date of adding comments. It is a permanent link to them. This link can be copied via the context menu and inserted to your messages.

If a history message contains attached files, you can copy them to the "Documents" module by pressing the  button that appears to the right of the attached file name when you put the mouse cursor over it. This function is available if you have access to the "Documents" module.
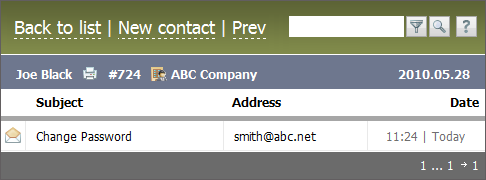
All the incoming and outgoing mails received from or sent to the mailbox of the contact are displayed here:

While switching between the tabs described above, there are always three navigation buttons available:
- Back to list — this button returns you to the contact list.
- New contact — this button opens the window of creating new contact;
- Next — this button switches you to the next contact in the list.
- Prev — this button switches you to the previous contact in the list.
← Delete/Restore
List →
|