- Welcome
- Home
- Tasks
- Documents
- Service Desk
- Chat
- Organizations
- Reports
- Add/Edit
- Autobinding
- Delete/Restore
- Export of Organizations
- Filters
- Import of Organizations
- List
- Module Settings
- Permissions
- Settings
- View
- Organizations Widget
- Contacts
- Board
- Team
- Products
- Accounting
- E-Bank
- Search
- Calendar
- Telephony
- Administration
- Projects
Add/Edit Organization
To add a new organization to the TeamWox system, you should press the "New organization" button located in the upper part of the "Organizations" tab. The window of adding information about organizations will appear, as soon as you press this button. The window of editing organization's information is the same as the one of adding. You can edit details of an organization in the "Edit" tab that is always present on the left side when you view an organization.
Main Information

Main information about the organization can be specified here:
- Name — name of the organization.
- Type — type of the organization (potential, client, agent, etc.).
- Status — status of the organization in your company (open, closed, rejected, etc.).
- Rating — rating (hot, good, weak, etc.).
- Industry — industry the organization works in.
- Lead source — source from which the organization is known.
- Service level — the choice of the service level for the organization, the time limits for maintaining the requests from this organization. The service levels (SLA) must be created preliminary.
- Date — date of registration of the company. It is specified via the interactive calendar, that opens as soon as you press the
 button.
- Comment — text comment to the organization.
Permission
Here you can specify the access right to view the organization's details — the "Manager" and "Assigned" field. To perform this operation, you should press with your mouse on the corresponding field. If you do it, the window of assigning users will appear. The instructions of how to assign organizations to users are given in the "List of Assigned" section.
The manager and the assigned users (except for assigning the "Everyone" group) will receive notifications about new comments in the organization history.
|
Contacts
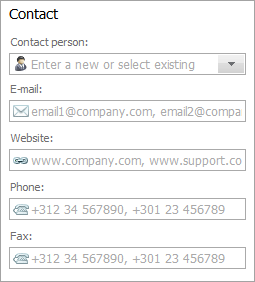
- Contact person — in this field, you can specify a contact person of the organization. You can either choose one of the contacts from the corresponding module or specify a new contact person. If a new person is specified, it will be added to the Contacts module as soon as the organization is updated.
- E-mail — e-mail address of the organization.
- Website — address of a website of the organization.
- Phone — phone number of the organization.
- Fax — fax number of the organization.
Postal Address

This block shows the actual address of the company's office. The block contains the following fields: "Country", "Region", "City", "Address", "Index", "Time" (selected time zone from the drop-down list by clicking on the button .
.
Registered Address

Legal address and details are specified in this block. Fill in the same fields as for the postal address.
One address can be used for the legal and postal addresses. In this case, the information from one block to another can be copied by clicking (). |
Accounting data
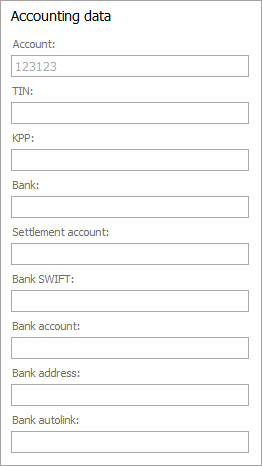
Here you can specify company's account on the MetaTrader 4 trade server, bank details and current bank account.
Additional fields for specifying information can be added in the module settings. |
Custom Fields
In the module settings, you can add more fields to specify information about the organization. All additional fields will be displayed as "Custom Fields".
Drop-Down List
Values of various fields can be specified in two ways: by choosing the necessary one from a pop-up list that appears if you press on a field with the left button of your mouse, or by entering a new one using your keyboard. For example, the new status/rating will be stored and further available in the list, if you press the "Create"/"Update" button located at the bottom of the window of creating/editing the organization after you have entered it.

You can also delete the unnecessary entries from pop-up lists. To do it, you should open a list and press the  button located to the right of the desired entry.